Tiles are among the toughest, most low‑maintenance finishes you can choose—but “low‑maintenance” doesn’t mean no maintenance. Over the years we’ve heard plenty of well‑meaning advice that can actually shorten the life and luster of ceramic, porcelain, natural stone, glass, cement and terra‑cotta surfaces. In this post we’re setting the record straight on six of the biggest myths so your floors, walls and backsplashes stay showroom‑fresh for decades.
Myth 1 – “All tiles are stain‑proof, so cleaning is optional.”
The reality: Glazed ceramic and porcelain resist most stains, but residues from cooking oils, hard‑water minerals and everyday dirt can still build up into a hazy film. Unglazed porcelain, natural stone, cement and terra‑cotta are porous and will darken or discolor if spills sit for long.
What really works:
- Wipe up spills ASAP, especially coffee, wine, tomato sauce and cosmetics.
- Damp‑mop glazed tiles weekly with a pH‑neutral cleaner (or warm water plus a couple drops of mild dish soap).
- For porous tiles, seal them on schedule (see Myth 4) and use a stone‑safe cleaner.
Pro tip: To check if your seal is still working, splash a few drops of water on the surface. If the water beads for at least 60 seconds, you’re protected. If it darkens the tile, it’s time to reseal.
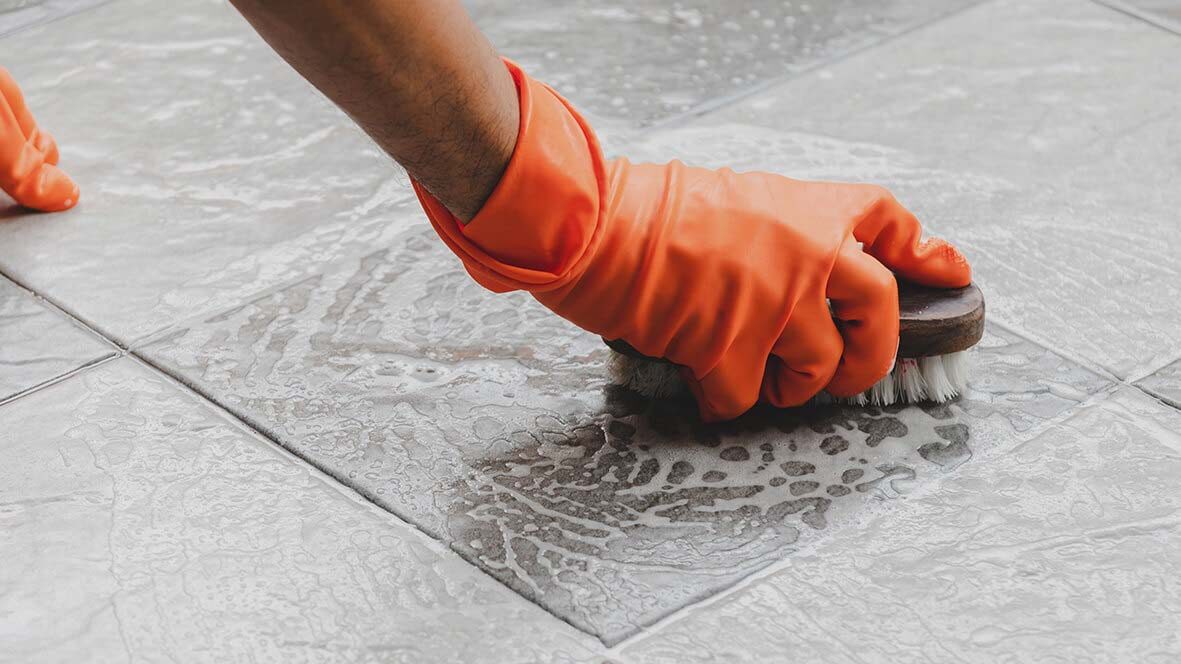
Myth 2 – “Acidic cleaners make grout brilliantly white.”
The reality: Vinegar, lemon juice and commercial acid washes will remove surface grime, and the cementitious binders that hold sanded & unsanded grout together. Over time the joints weaken, become more porous and can even erode below the edge of the tile.
What really works:
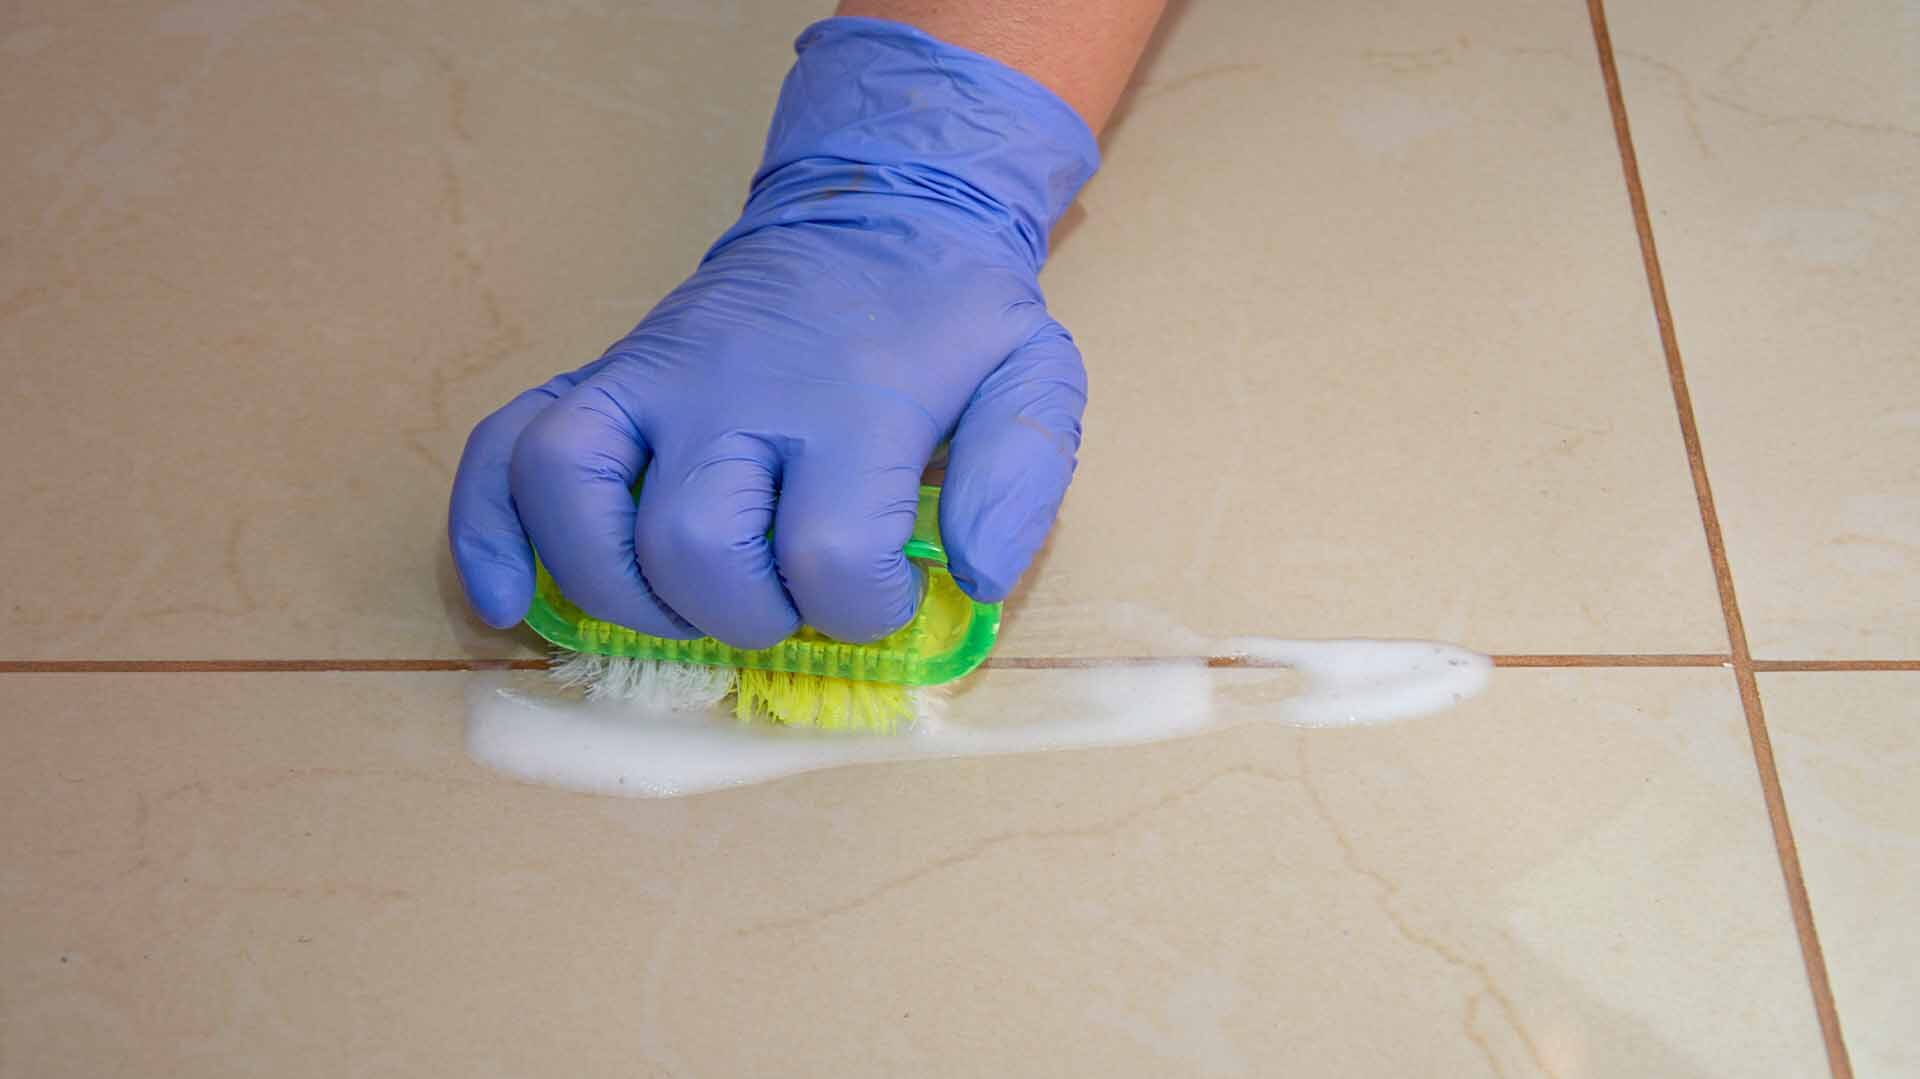
- Use a pH‑neutral grout cleaner or a baking‑soda paste (add enough water to make a thick spread).
- Scrub with a soft nylon brush—never steel wool or a metal scraper.
- Rinse thoroughly so no detergent residue attracts new dirt.
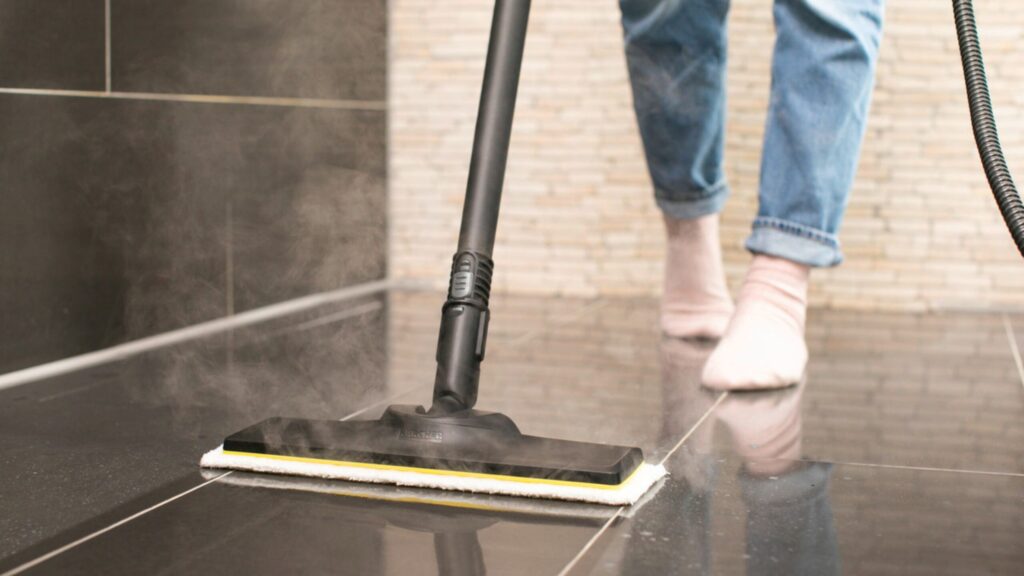
Myth 3 – “Steam mops are safe for every tile surface.”
The reality: High‑pressure steam can drive moisture into micro‑cracks, grout lines and the substrate. That’s no problem for a well‑installed porcelain floor, but it can spell disaster for cement tiles, natural stone, unglazed terra‑cotta and older grout that’s starting to pinhole.
What really works:
- Glazed ceramic & porcelain: occasional steam mopping is fine—keep the head moving and follow with a dry microfiber pad.
- Natural stone, cement & terra‑cotta: stick to damp mopping; drying towels or fans prevent water spots.
- Heated floors: verify the manufacturer’s recommendations—steam plus radiant heat can expand the slab faster than the grout can handle.
Myth 4 – “Sealing once means you’re set for life.”
The reality: Sealers are sacrificial layers that wear off with foot traffic, cleaners and UV exposure. A marble foyer may need resealing every 6–12 months; a low‑traffic shower wall every 2–3 years.
| Tile type | Recommended sealer | Typical reseal interval* |
|---|---|---|
| Polished marble, limestone | Penetrating/impregnating | 6–12 months |
| Travertine, slate | Enhancing or penetrating | 12–18 months |
| Encaustic cement | Topical + penetrating | 1 year |
| Terra‑cotta, quarry | Penetrating | 12–24 months |
| Porcelain (unglazed) | Penetrating if manufacturer advises | 2–3 years |
| Glass, glazed ceramic/porcelain | None needed | N/A |
What really works:
Schedule a quick water‑bead test twice a year (see Myth 1) and keep a small bottle of sealer on hand for touch‑ups in high‑traffic zones like entryways.

Myth 5 – “A chipped tile has to be replaced right away.”
The reality: Small chips and hairline cracks are often cosmetic. Pulling a single tile can risk breaking adjacent ones and may not match batch colors anymore
What really works:
- Color‑matched epoxy filler: great for porcelain and ceramic. Apply with a craft stick, let cure, sand flush.
- Stone repair kit: uses UV‑cured acrylics and tints to mimic veining in marble or travertine.
- Reserve full replacement for structural cracks, water infiltration points, or when more than ~15 % of the field is damaged.
Pro tip: To check if your seal is still working, splash a few drops of water on the surface. If the water beads for at least 60 seconds, you’re protected. If it darkens the tile, it’s time to reseal.

Myth 6 – “Regrouting is always cheaper than re‑tiling.”
The reality: Regrouting costs less per square foot only if the substrate is stable and the tiles are still solidly bonded. If the original thin‑set has let go, you’ll pay twice—once for grout removal and again for a full demo.
What really works:
- Tap tiles with the plastic end of a screwdriver: a hollow sound indicates a loose bond.
- If more than a handful are hollow, plan a full replacement.
- When regrouting makes sense, use an oscillating tool with a carbide blade to remove at least 2/3 the depth of the joint for proper adhesion.
Leave a Reply