1. Choose the Right Tile for the Job
Before you even open a bucket of mortar, picking the right type of tile is crucial. Porcelain, ceramic, natural stone—each has unique benefits and ideal applications. For beginners, ceramic tiles are a user-friendly choice due to their durability and ease of cutting.
Pro Tip: Always buy 10-15% more tiles than you need to account for cuts and breakage.
2. Prepare the Surface Properly
A successful tile installation starts with a clean, level surface. Whether you’re tiling a floor or wall, ensure the area is dry, free of debris, and structurally sound. Use a leveling compound if necessary.


3. Use the Right Tools for the Job
Having the right tools makes a big difference in both quality and efficiency. Basic tools include:
- Tile cutter or wet saw
- Notched trowel
- Tile spacers
- Rubber float
- Level and tape measure
Invest in a good tile cutter—cheap ones often result in rough edges and cracked tiles.
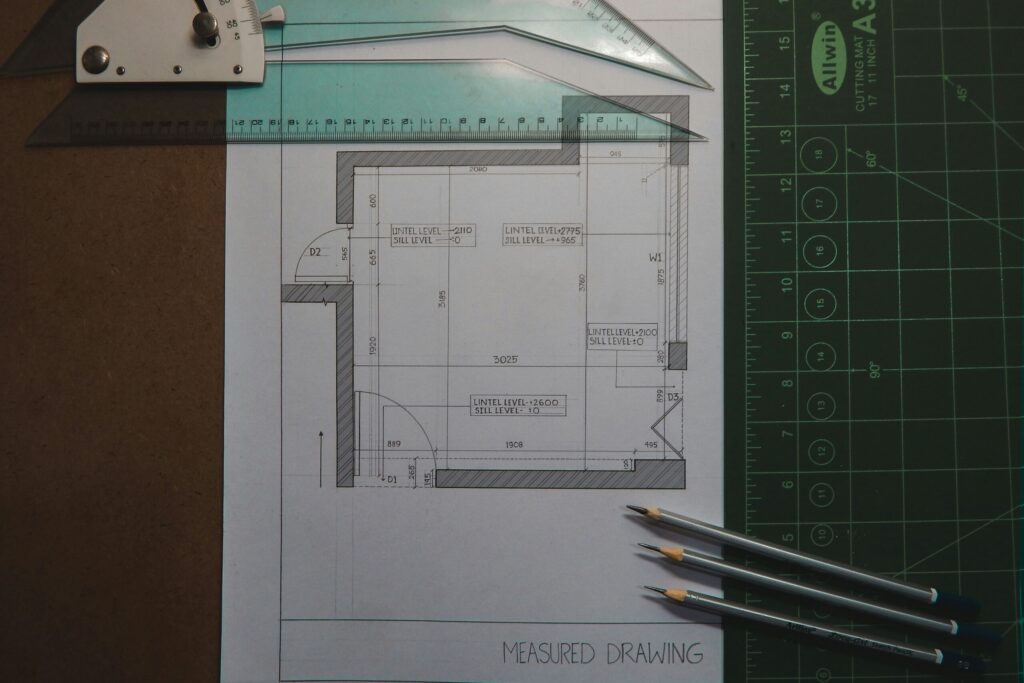
4. Plan Your Layout Before You Start
Take time to dry lay your tiles (placing them without adhesive) to visualize the layout. Start from the center of the room and work your way out, ensuring symmetrical cuts along the edges.
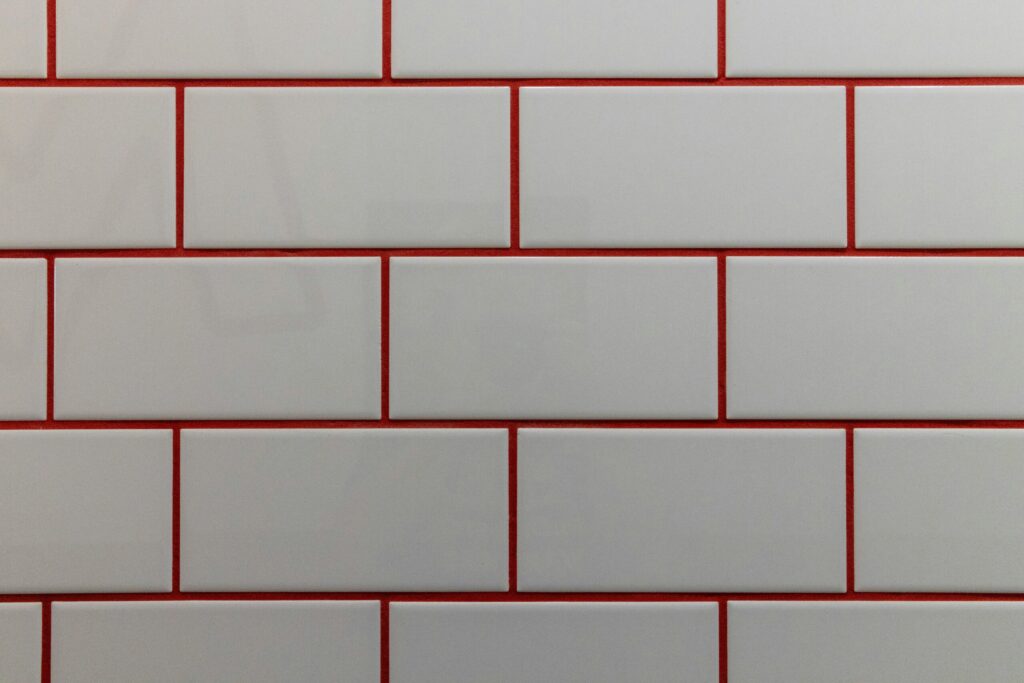
5. Don’t Skip Tile Spacers
Tile spacers help maintain consistent grout lines, which is key to a professional-looking finish. Skipping spacers leads to uneven gaps and misaligned tiles—hard mistakes to fix later.
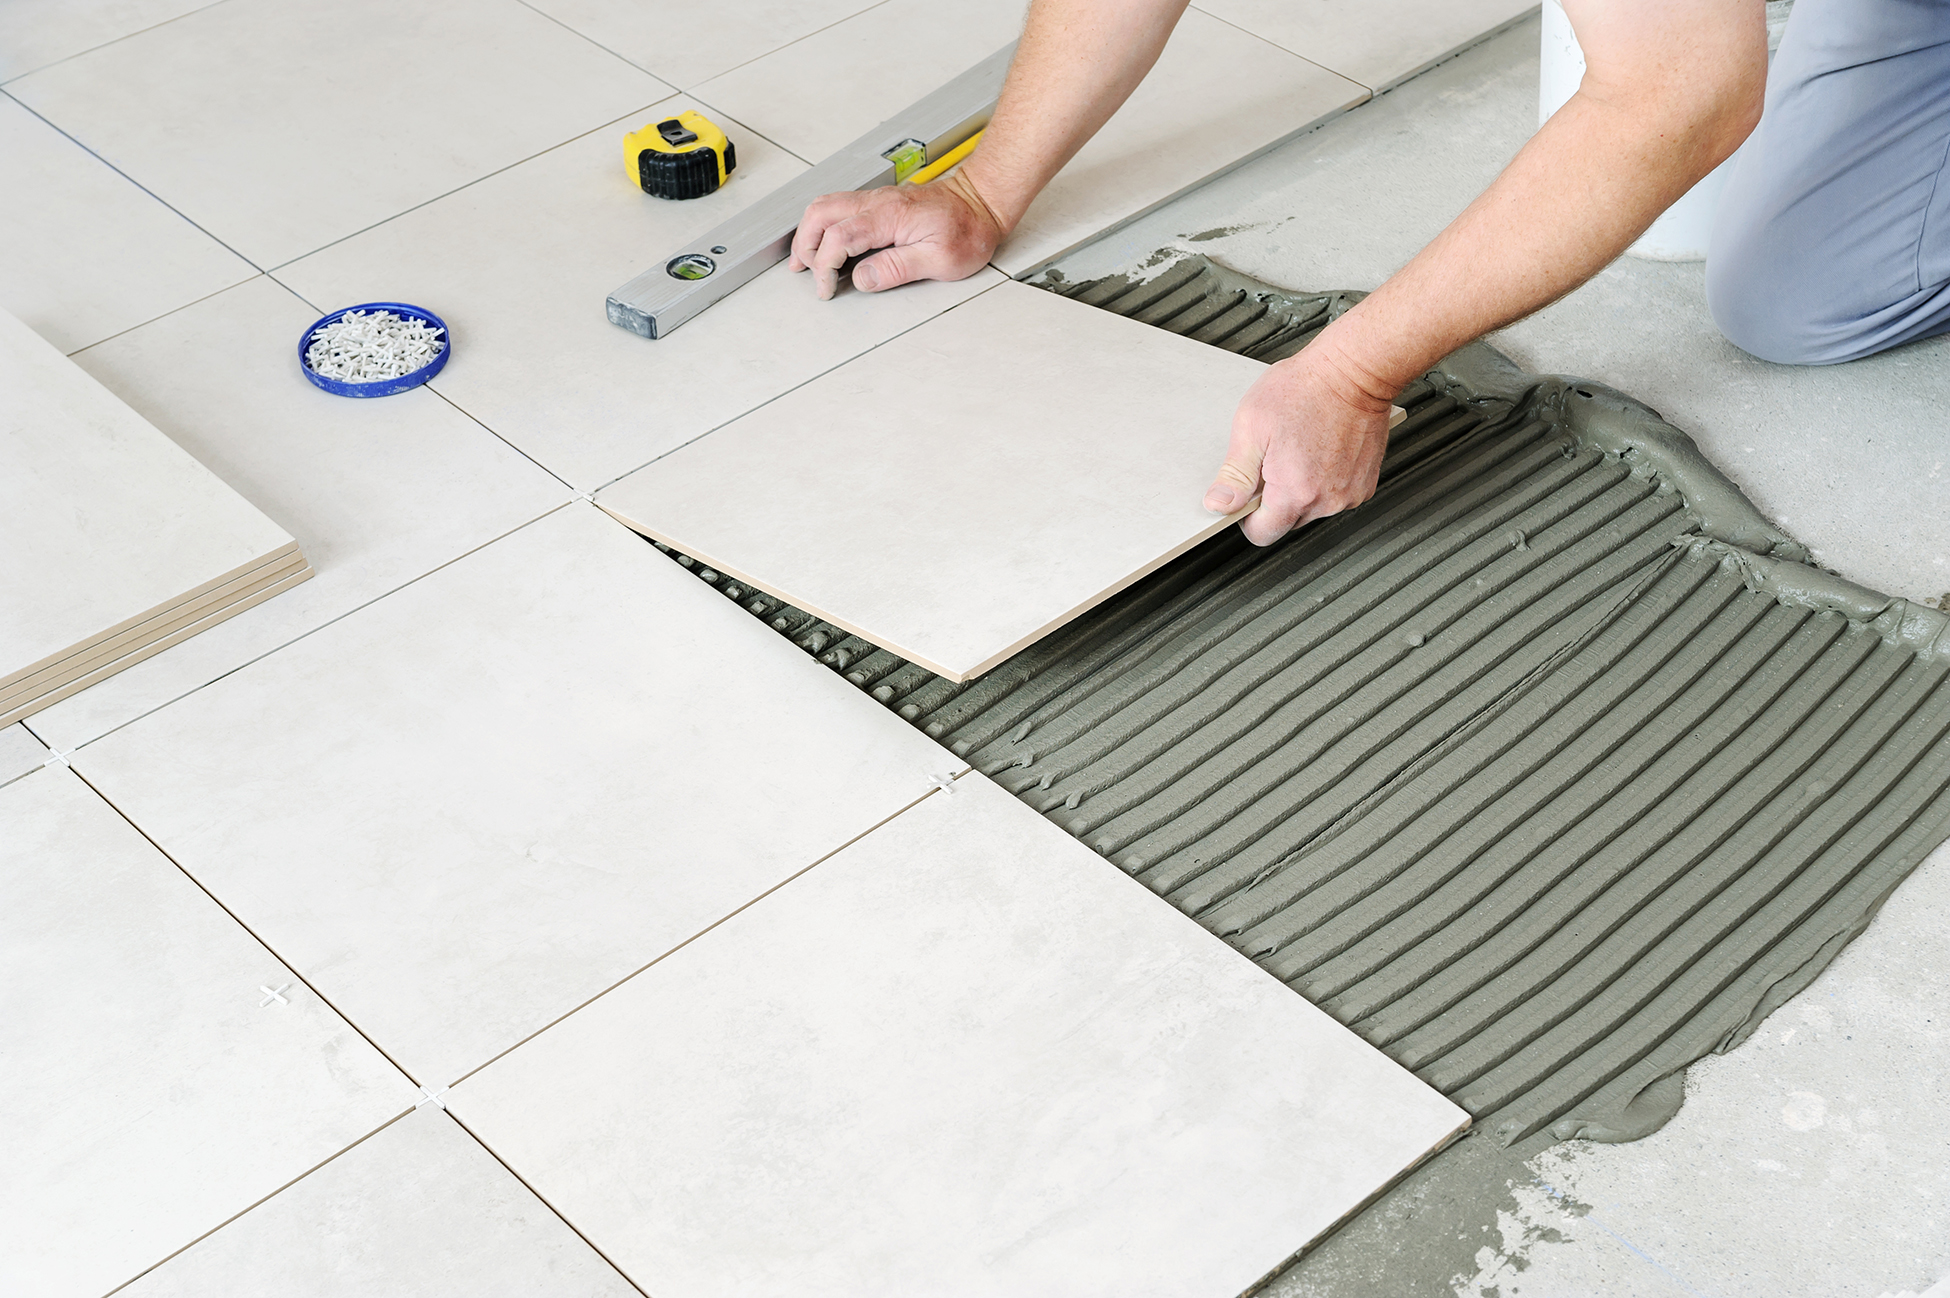
6. Mix Thin-set Correctly and Apply Evenly
Your adhesive (also called thinset mortar) should be mixed to the consistency of peanut butter—not too runny, not too stiff. Use a notched trowel to spread it evenly for proper tile bonding.


7. Grouting and Sealing Are Just as Important
Once tiles are set and cured, apply grout with a rubber float. Work diagonally and clean off excess before it dries. If using porous tiles or natural stone, don’t forget to apply a sealer to protect your grout and tiles.
Leave a Reply